Juicy Turkey Burgers
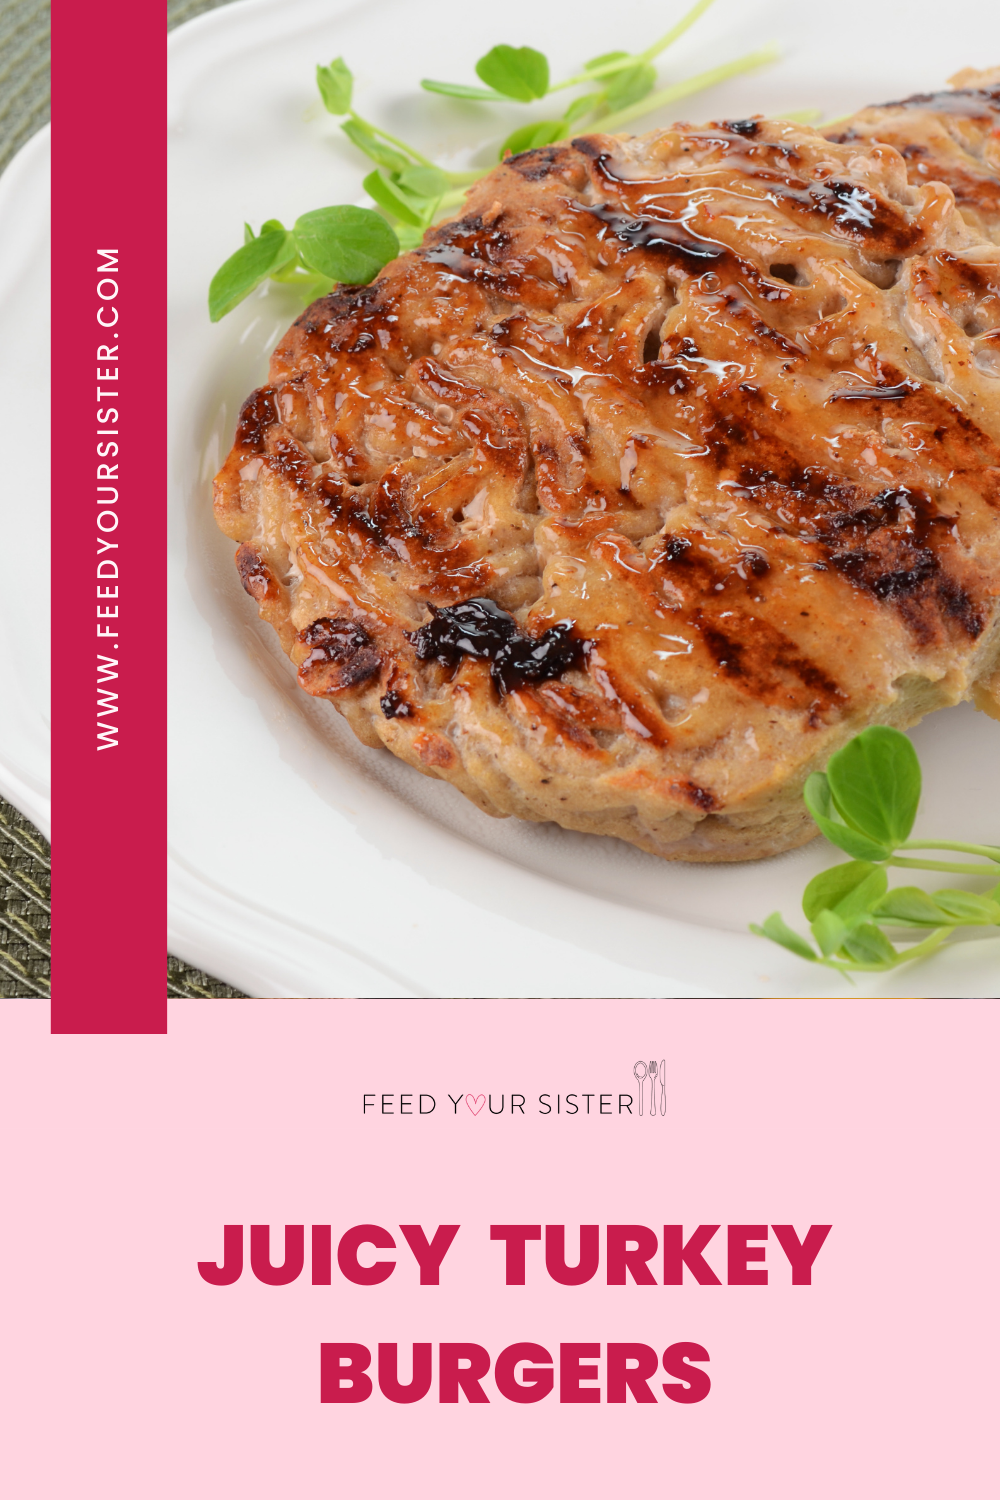
If you're looking for a tasty, easy-to-make burger, search no more because these are the best and juiciest turkey burgers you’ll find. Inspired by The Defined Dish, they are exactly what you're looking for!
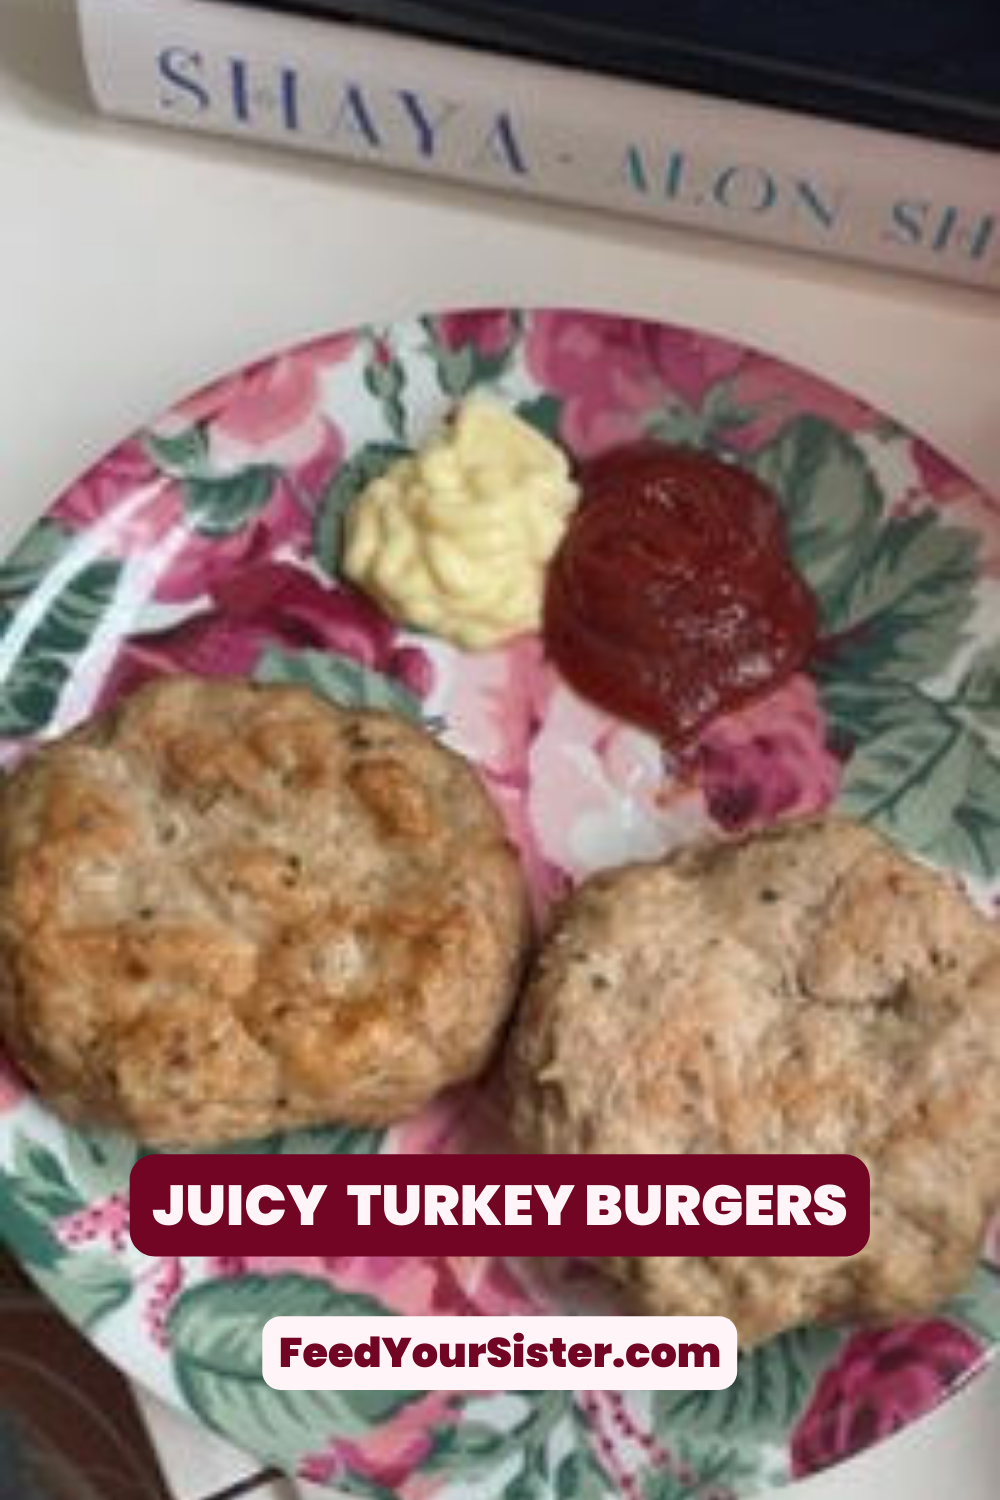
Apart from being delicious, these burgers are also freezer-friendly, ensuring that you can make them in advance and always have a meal ready when you need it. There's no need to worry about these burgers drying out as they retain their juiciness even after being frozen. Plus, with a quick overnight defrost or microwave heating, you can have them ready quickly. Trust me; these burgers are perfect for those busy days, and I love to eat them plain with a little mayo. And if you have little ones doing baby-led weaning, these burgers, cut into strips, are an excellent choice!

Ingredients:
1 pound ground turkey or chicken
2 tbsp mayo (or full-fat plain yogurt)
1 tsp salt
½ tsp pepper
2 tsp Italian seasoning
2-3 tbsp tapioca flour (cornstarch or arrowroot flour/starch can be used)
Directions:
Preheat your oven to 400 degrees.
In a large bowl, combine the turkey, mayo, salt, pepper, Italian seasoning, and 2 tablespoons of tapioca flour.
Using your hands, mix until the meat is just combined and the ingredients are evenly distributed. The meat should be a little ‘wet’ feeling compared to traditional beef patties; however, this helps keep the turkey meat from drying out.
If your meat is too ‘wet’ to form into patties, add 1 additional tablespoon of tapioca to help bind the meat.
Bake patties on a parchment-lined sheet pan at 400 degrees for 10 minutes on each side.
Enjoy!
Notes:
Do not use extra lean or white meat only for the burgers, 94% or lower is great.
Perfect for baby led weaning and toddler meals, make burgers into long logs or smaller burger bites and bake. Stash in the freezer to have ready-to-eat baby and toddler meals. Internal temperature should be at least 165.
For Outdoor BBQ Grill: Once I form the burgers, I like to cover them with plastic wrap and let them rest in the fridge for 30 minutes to 1 hour. This helps them hold their shape a bit more. Grill until cooked through (4 to 5 minutes per side).
Are you wanting MORE easy and delicious recipes?
Introducing EVERYTHING BUT THE KITCHEN SINK e-book.
Everything But The Kitchen Sink gives you the foundational knowledge necessary to get started on your meal-prepping journey.
You’ll be able to plan, prep, and plate week after week while saving money, reducing food waste, and expanding the way your brain thinks of meals in the kitchen.
Imagine…
Cooking in a kitchen that is set up for FUNCTION
Keeping MONEY in your pocket and food out of the trash
Getting into a weekly meal prep groove with EASE so you feel less overwhelmed
Being more energized throughout the week because you have BETTER-FOR-YOU MEALS prepared
If you try this recipe, let us know! Leave a comment and don’t forget to tag a photo using #feedyoursister on Instagram. Cheers, friends!